

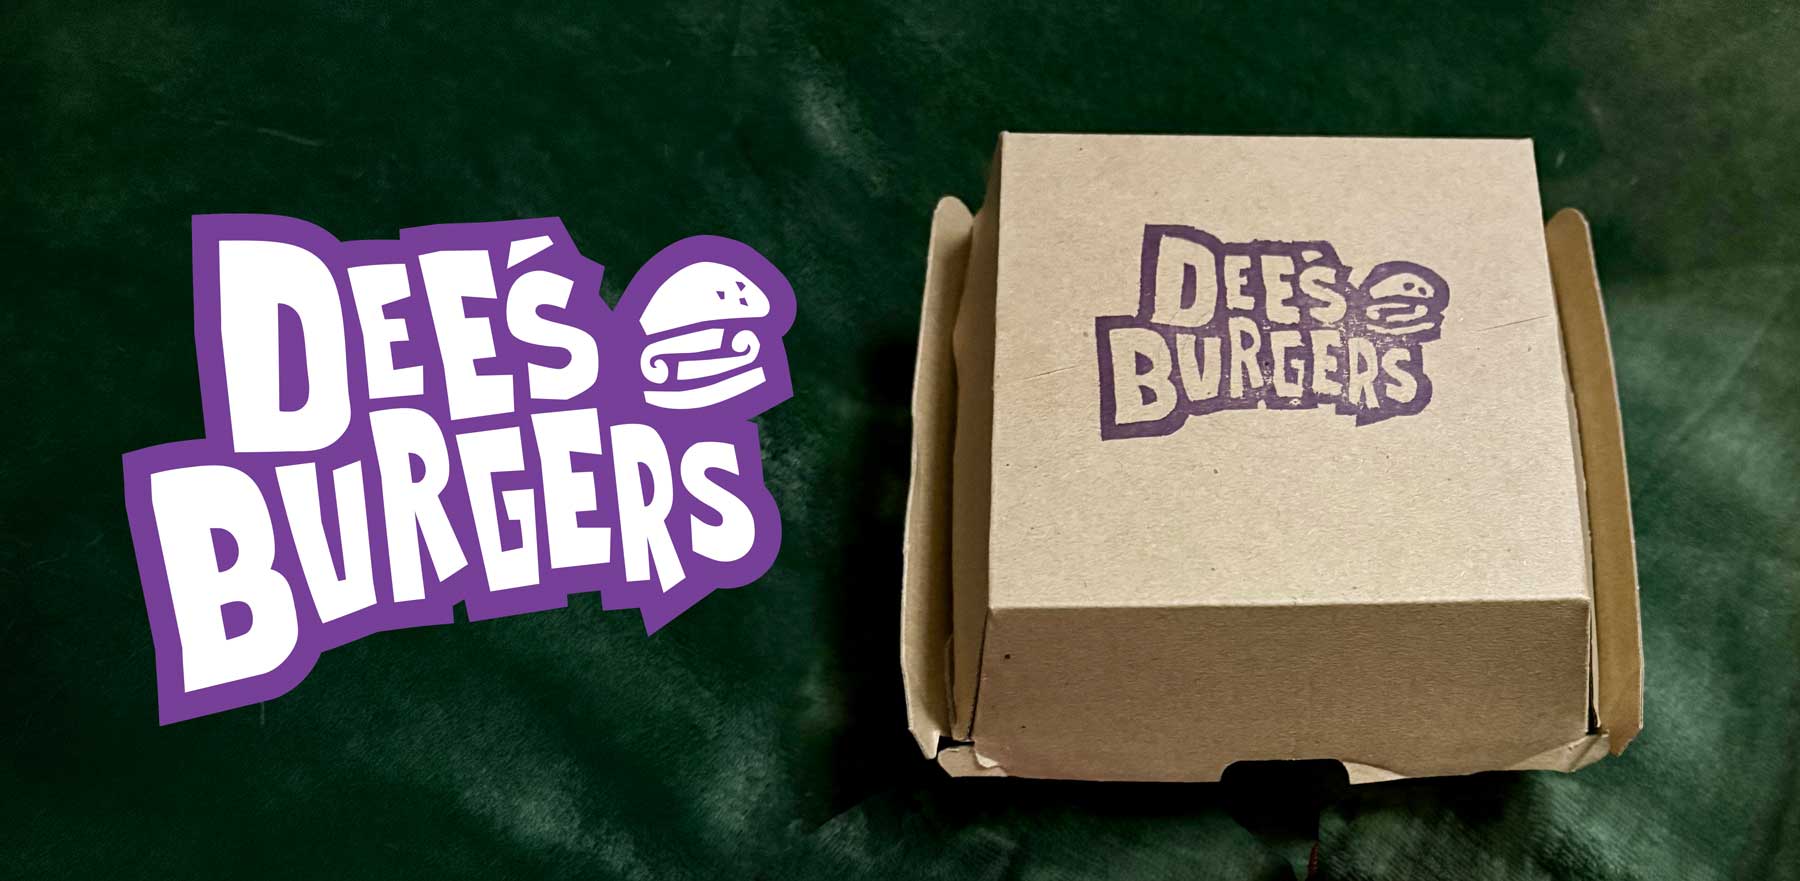
I designed a logo for my friend Dee, who sells the best burgers I've ever tasted from a food truck called Dee's Burgers. (Yes, I did get burger perks in exchange. No regrets.)
On opening weekend I went along for a feed and noticed the burger boxes had absolutely no branding on them. As her designer, this bothered me more than it should have.
Around the same time, the Instagram algorithm had been serving me reel after reel of people making block prints. I was kind of obsessed. There's something almost therapeutic about watching someone carve into soft rubber – and it was something I'd been wanting to try as a creative outlet that wasn't behind a screen.
This was the perfect excuse to give it a go.
I decided to make Dee a couple of stamps as a surprise – a full logo stamp and a motif stamp. The logo I'd designed for her was already in a hand-drawn type style, so a hand-cut stamp felt like a natural fit.
The Tools I Used
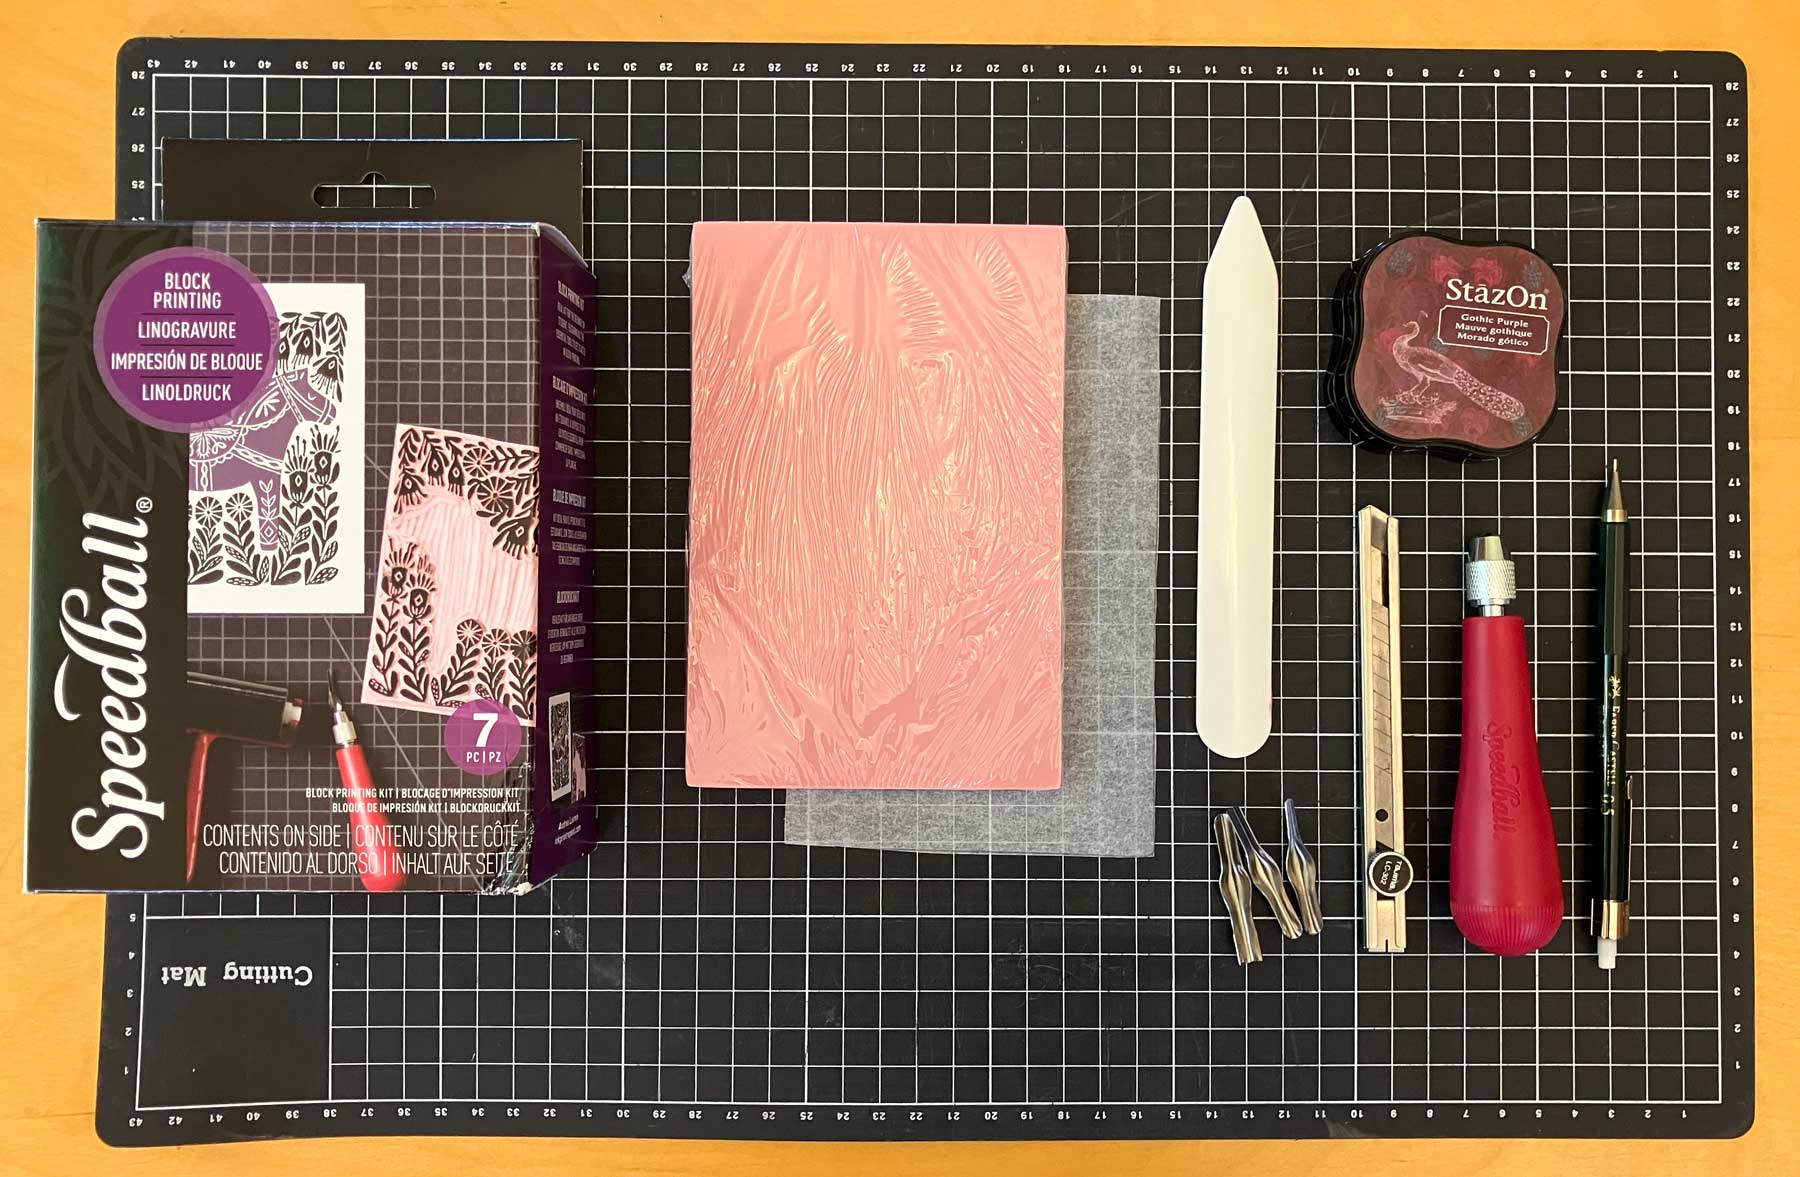
Here's what I used:
- Speedball Speedy Carve Rubber
- Speedball Lino Tool with tips #1, #2, and #5
- Fiskars Bone Folder
- StazOn Ink Pad
- Tracing paper (I used baking paper – works just as well)
- Pencil
- Craft knife
📢 A shout out to Monika from Salt and Paper – I followed the process showed in this Instagram reel and it was a brilliant starting point.
I already had the tracing paper, pencil, and craft knife at home. The things I needed to buy:
Speedball Starter Kit – I'd seen Speedball products referenced everywhere for block printing, so I wanted to go with them. Ideally I would have bought the Speedball Speedy Carve Kit – it's a bit cheaper and comes with tracing paper and the #1 and #4 tips – but I couldn't find it locally at the time. Instead I picked up the Speedball Block Print Starter Kit from Spotlight, which swaps the tracing paper for a roller and black ink. I didn't need either for this project, but figured they'd be handy if I wanted to try art printing down the track. Worth checking both kits against what's available in your area – the Speedy Carve Kit is the one I'd go for if you can find it. (If you're in NZ, The Ribbon Rose stocks it.)
Fiskars Bone Folder – Technically for creasing and scoring paper, but in this case it's used to transfer the traced artwork from the tracing paper onto the rubber block. A handy thing to have in your kit regardless.
StazOn Ink Pad – This replaces the ink-and-roller method you'll often see in block printing tutorials. It's a much tidier approach for stamping, especially when you're doing it repeatedly. I found a Gothic Purple that was the closest match I could find to Dee's Burgers brand colour.
Making The Logo Stamp
With everything ready, here's how it came together.
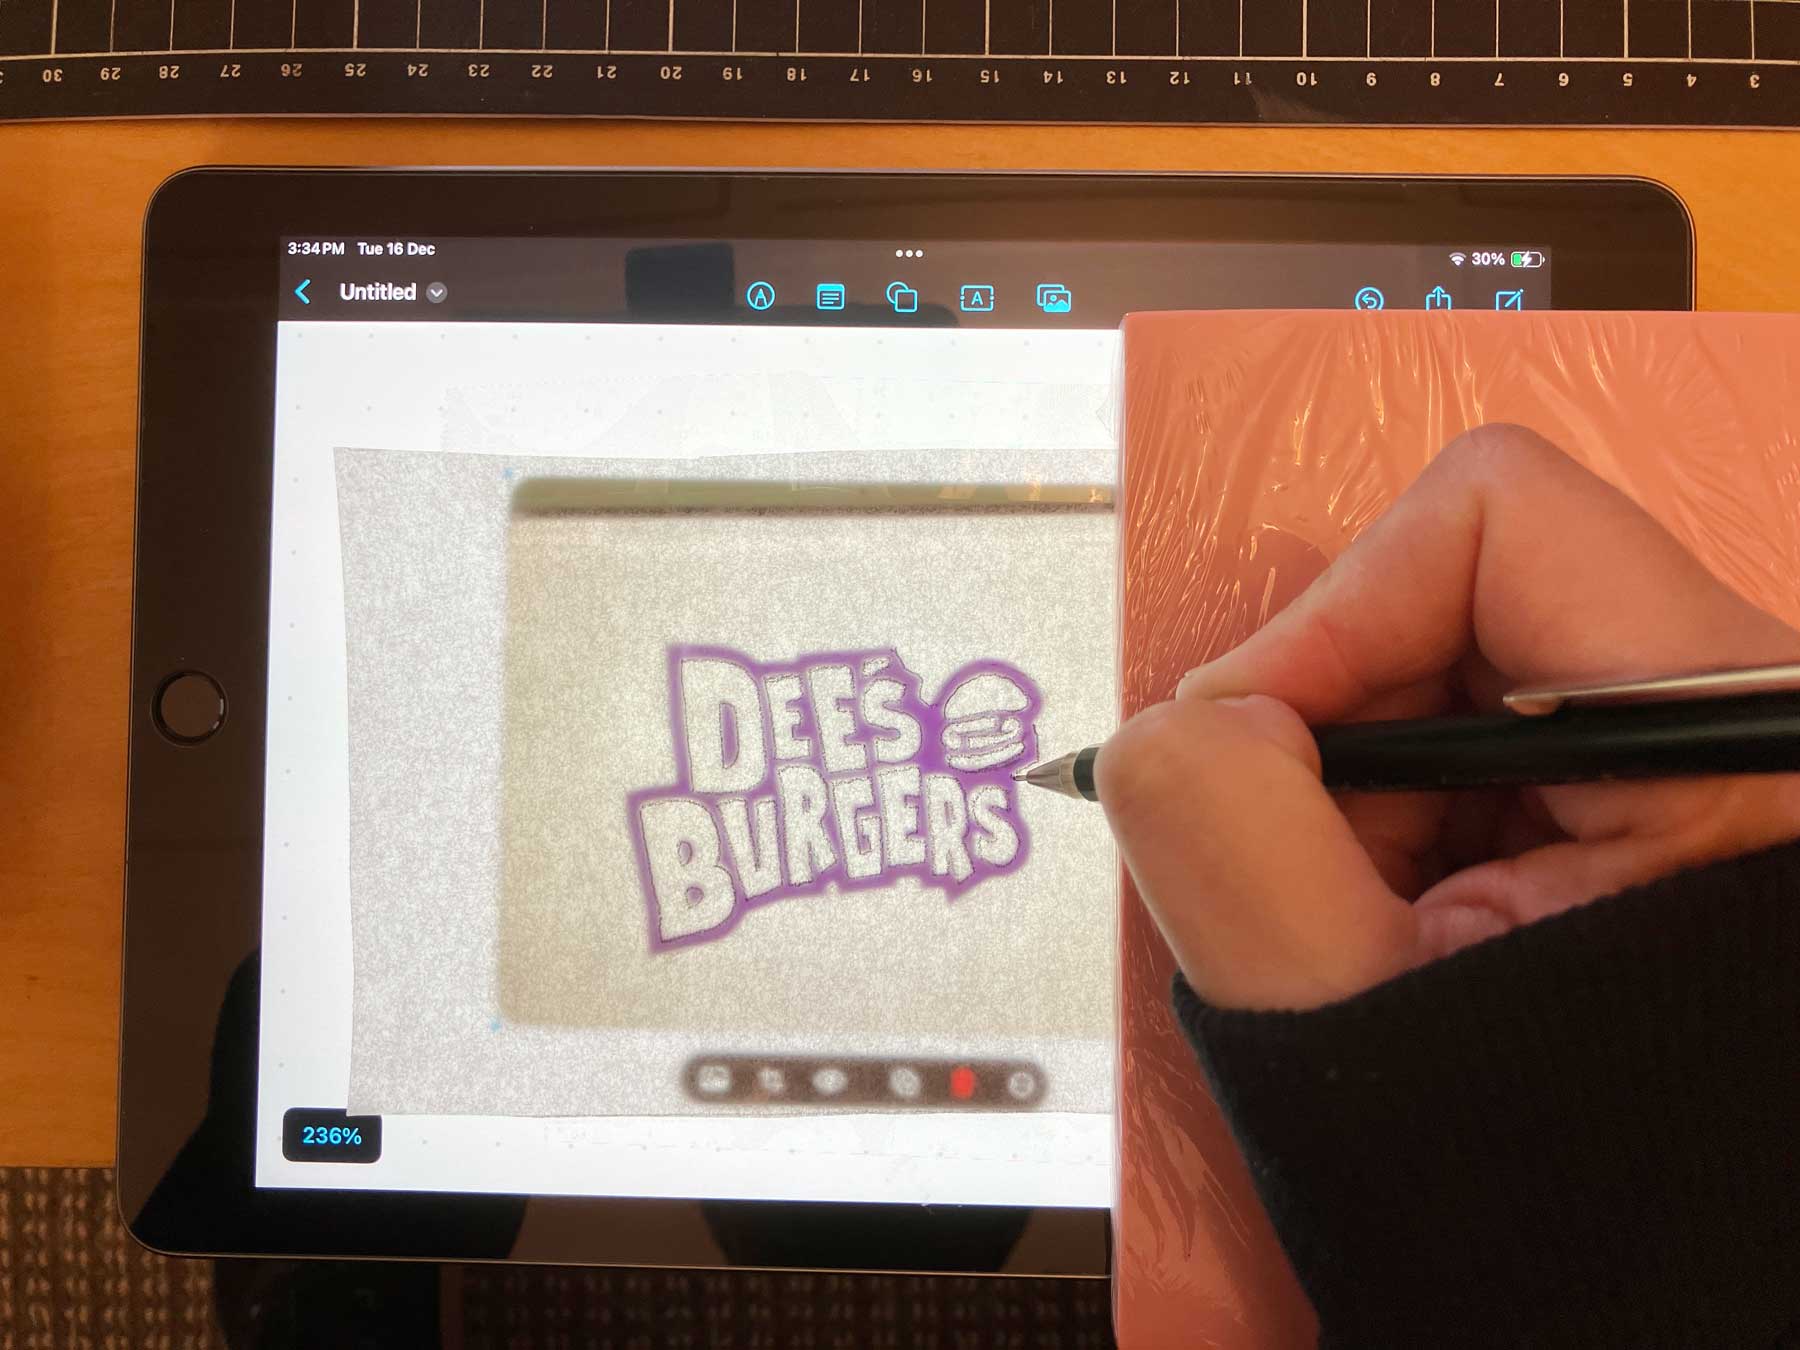
First I needed to get the logo onto the tracing paper. Normally I'd print it out at the exact size I wanted and trace from there, but my printer wasn't working. So I improvised – I took a photo of the logo on my iPad, resized the image until the logo was the right size, then took a screenshot to lock it in place so it wouldn't resize on me while I was tracing.
Then I traced the logo onto the tracing paper with a pencil.
Next, I placed the tracing paper face-down onto the rubber block – pencil side touching the surface – and rubbed firmly over the lines with the bone folder using medium pressure to transfer them across.
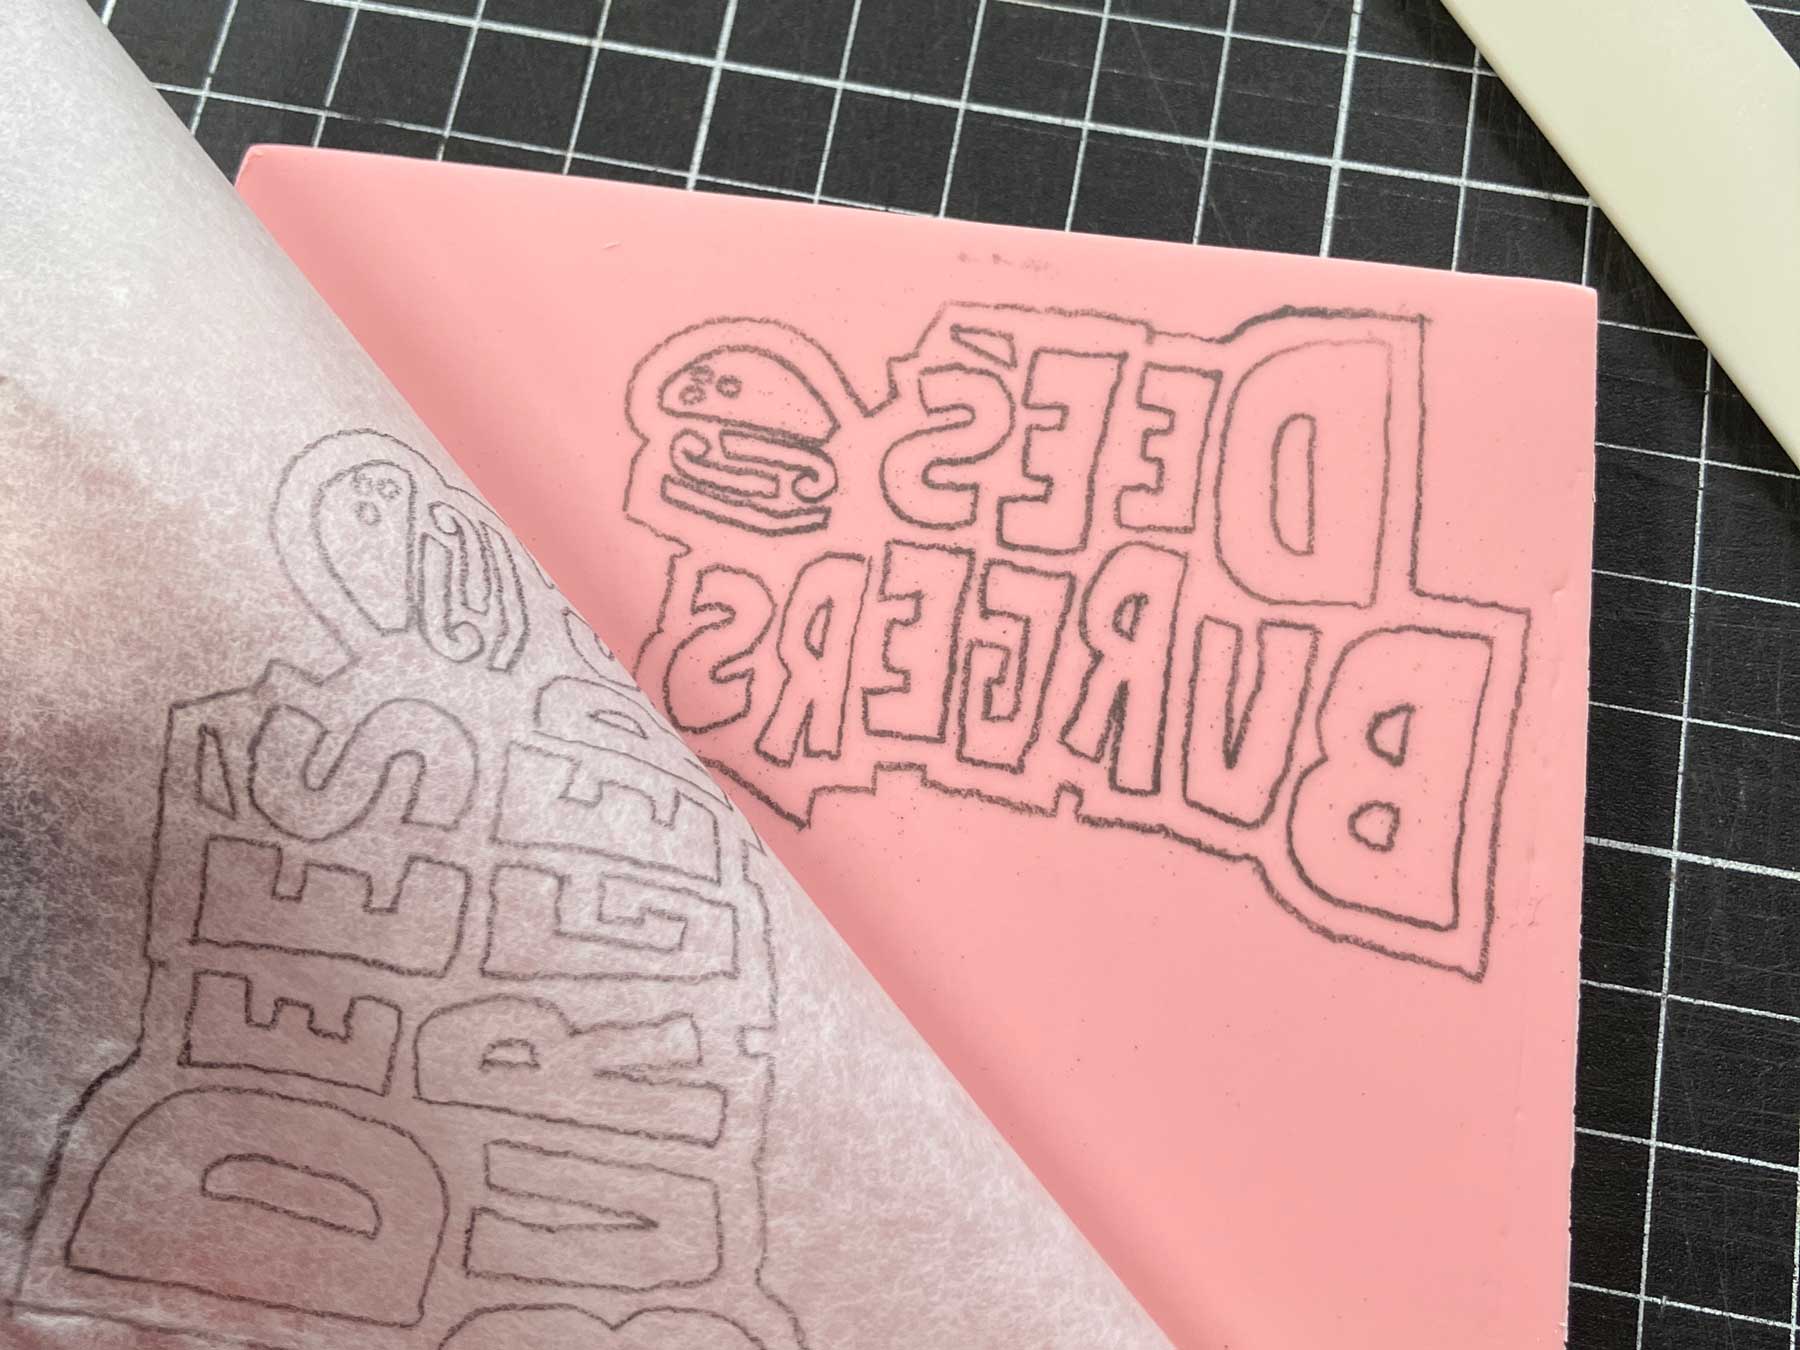
It looks backwards at this stage. That's correct. It needs to be, so it stamps the right way around.
With the outline transferred, I used the finest cutter (tip #1) to go around the edges of the logo and get clean lines. Then I shaded over the whole stamp with pencil so I could clearly see what had and hadn't been cut, and used the tip #2 and tip #5 cutters to remove everything that needed to go.
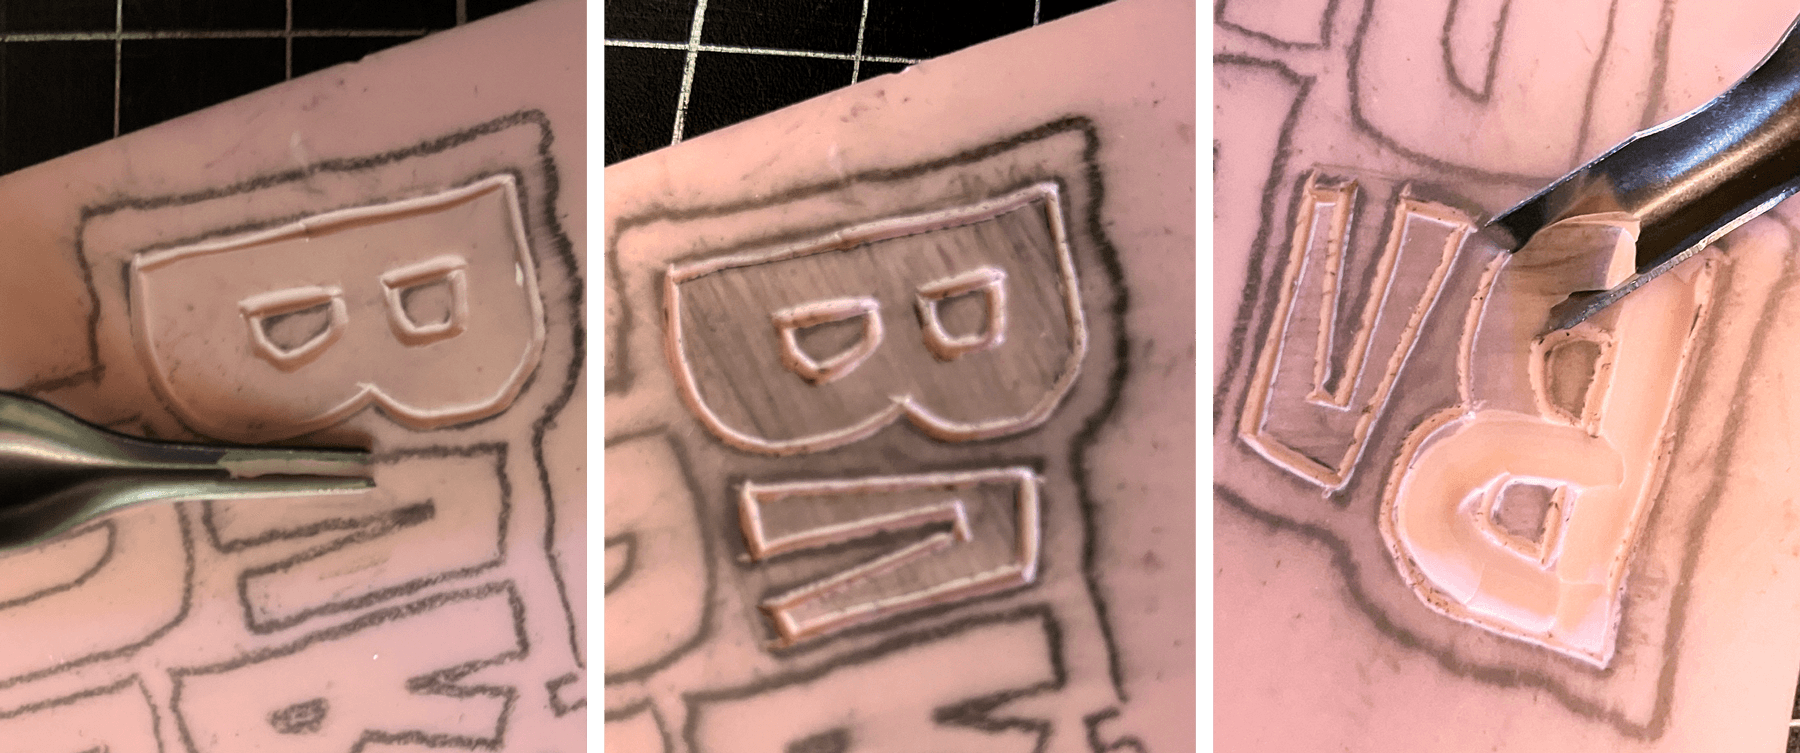
Once I'd finished cutting, I did a series of test stamps – pressing the StazOn ink pad onto the stamp and stamping onto paper to see what still needed tidying up. It's a bit of a back-and-forth refinement process rather than a one-and-done.

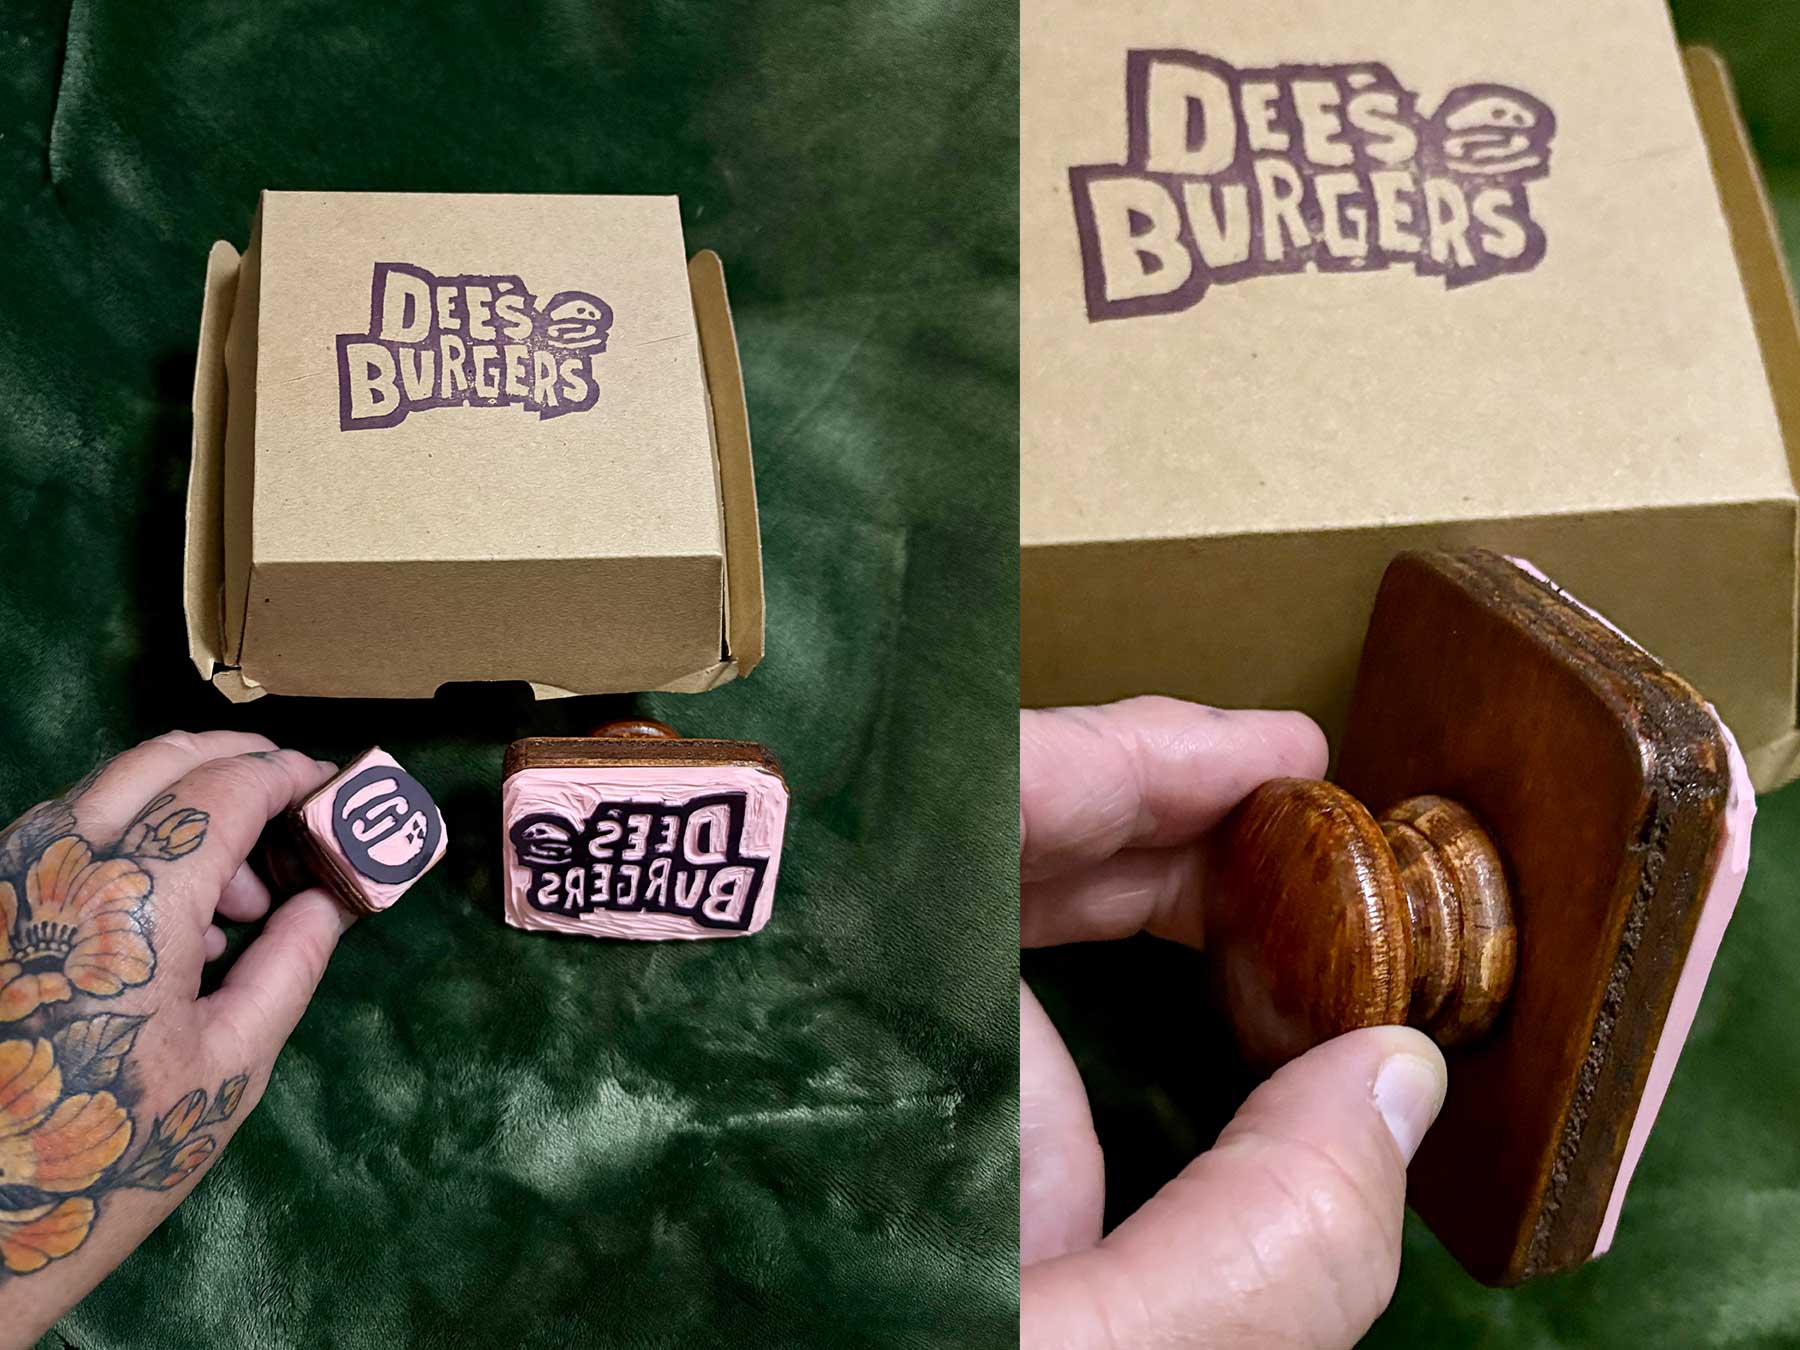
Once I was happy with it, I trimmed the edges of the rubber block, glued the stamp onto a piece of stained wood, and added a handle. I stained the wood with the same stain I used on my standing desk, which felt like a nice little detail.
Then came the exciting part – surprising Dee with it.
Why It Was Worth It
So much of the work we do as designers lives on a screen. Logos especially – letterheads aren't as common as they used to be, business cards are less of a given than they once were, and often the thing you spent hours perfecting just... exists as a file.
Making this stamp was a reminder that there's something really satisfying about bringing a logo into the physical world.
But more than that, it made me think about the moments where you can go a step further for a client – not necessarily to this extent, but even something small and unexpected. A branded design for something they didn't ask for. Something that brings their brand to life in a way they hadn't imagined.
That's the thing worth taking from this, I think. What's one unexpected thing you could do that would really surprise and delight them?
🙌 If you give this a go, let me know how it turns out – drop me an email with any questions or to share what you made.